A well-fitted shade sail turns a hot patio, terrace or garden into a comfortable outdoor room, and it looks great while doing it. But a sail that is badly positioned or under-tensioned will flap, sag, collect water and may even pull its fixings loose in the first strong wind. This guide explains how to install a shade sail properly, step by step: planning the layout, choosing fixing points and posts, measuring, tensioning, and keeping your sail safe through every season.
The method below is the same one used by professional installers on homes, cafés, schools and hotels around the world. It works whether you are in London, Madrid, Dubai or Lahore. Measurements are given in metric first, with imperial in brackets.
Whether you want to hang a shade sail between two walls, attach it to a tree, or set new shade sail posts in the garden, the same principles keep it tight, safe and long-lasting. These shade sail installation tips also apply to sun sails, triangle sun shades and patio shade canopies.
Table of Contents
What You Need to Install a Shade Sail
Gather everything before you install a shade sail. Missing one shackle on installation day can stop the whole job.
- The shade sail (triangle, square or rectangle) with D-rings or stainless steel rings at each corner.
- Fixing points: steel posts, wall plates or eye bolts rated for outdoor tension loads.
- Tensioning hardware: turnbuckles, snap hooks, shackles and, for larger sails, a pulley or ratchet kit.
- Marine-grade stainless steel (316) fittings, which resist rust far better than zinc-plated hardware.
- Tools: tape measure, spirit level, drill, masonry or wood bits, spanners, ladder, post-hole digger and string line.
- Concrete for post footings, if you are using free-standing posts.
Step 1: Choose the Right Sail Shape and Fabric
Good shade sail installation starts with the right product. The shape and fabric you choose affect how the sail looks, how much shade it gives and how it handles rain.
Shape
- Triangle: stylish and easy to fit into corners. Two or three overlapping triangles create a layered, designer look.
- Square: gives the most shade for its size and suits patios and seating areas.
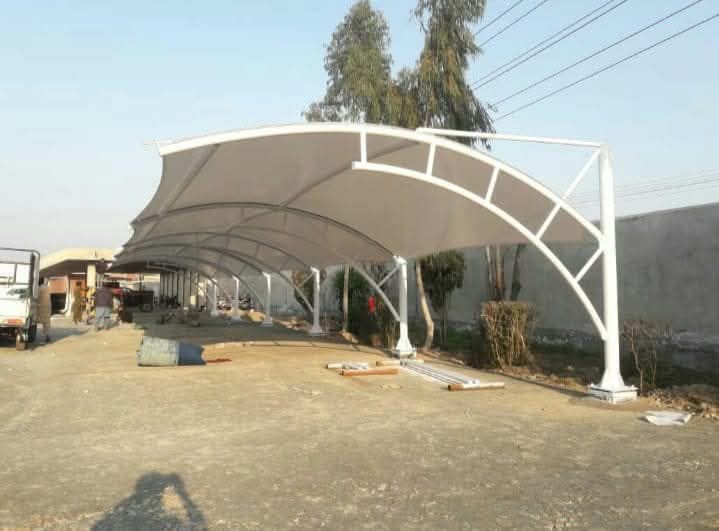
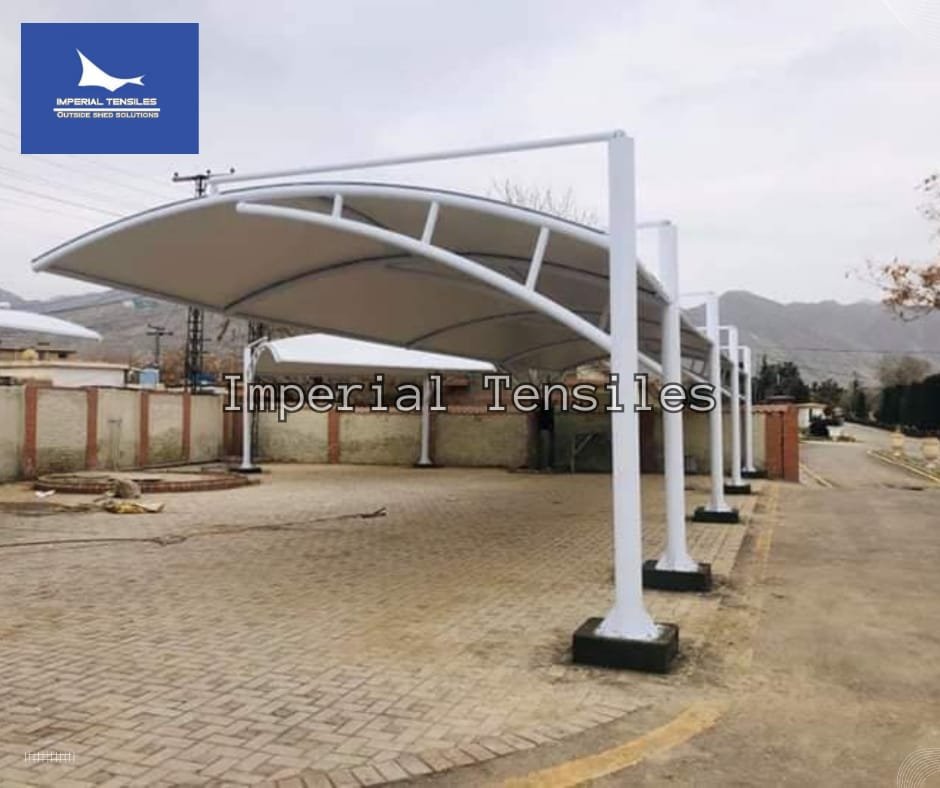
- Rectangle: ideal for long spaces such as terraces, car parks and poolside areas.
Fabric
- Breathable HDPE knitted fabric: lets hot air escape and lets light rain through. It is the most common choice for sun shade and gives strong UV protection.
- Waterproof PVC-coated polyester: keeps rain off, but water must be able to run off, so the sail needs a steeper slope.
For a deeper comparison of membrane materials, see our guide to PVC vs HDPE vs PVDF tensile fabric and our overview of types of tensile structures.
Step 2: Plan the Layout and Sun Angle
Before you buy hardware or install a shade sail, plan exactly where the shade must fall. This is the step most people rush, and it is the main reason a sail ends up shading the wrong place.
- Watch the sun. Note where the sun is at the times you use the space, for example lunchtime or late afternoon. The shadow falls away from the sun, not straight down.
- Mark the area you want shaded on the ground with string or chalk.
- Shift the sail towards the sun. In the afternoon, the sail usually needs to sit further west than the area it shades. In southern Europe in summer the sun is high, so the shift is smaller than in the north.
- Think about views and wind. Avoid blocking a nice view, and avoid the most exposed spot if your garden faces strong prevailing winds.
Step 3: Choose Strong Fixing Points
When you install a shade sail, every corner pulls with real force, and that force increases sharply in gusty wind. Your fixing points must be strong enough to carry that load safely.
Fixing to a building
Fix into solid masonry, concrete or a structural timber beam. Use heavy-duty wall plates or eye bolts with suitable anchors. Never fix to gutters, fascia boards, downpipes or thin cladding; they are not designed for this kind of pull and can be torn away.
Fixing to trees
A large, healthy tree can work, but trees move in the wind and grow over time. Use a padded strap rather than a bolt, and check the fitting regularly. Avoid trees with weak or dead branches.
Using free-standing posts
Steel posts give you the most freedom of layout and are the most reliable option. For most domestic sails, galvanised steel posts of around 100–150 mm (4–6 in) diameter are common, set in concrete footings. Larger or commercial sails should always be engineered.
Step 4: Plan the Height, Slope and Twist
Whenever you install a shade sail, avoid a perfectly flat layout. A flat sail flaps in the wind, sags over time and collects water. Instead, give it a slope or a twist.
- Slope: set one or two corners lower than the others so rain runs off.
- Twist (hypar): on a square or rectangle, set two opposite corners high and the other two low. This double curve makes the sail tighter, stronger and more attractive.
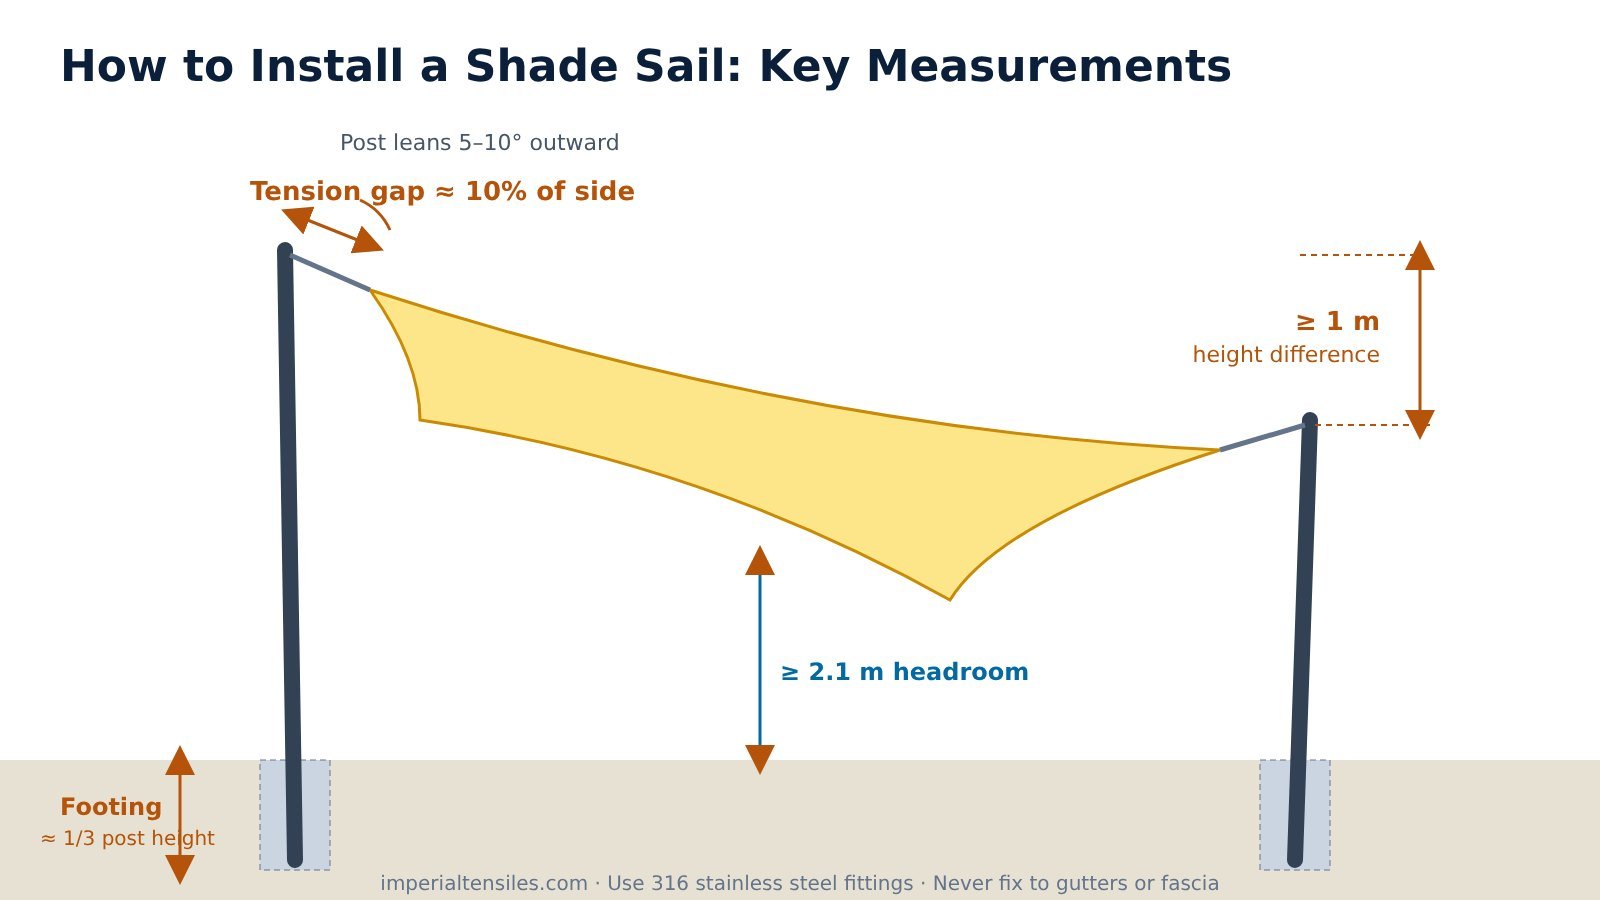
- Height difference: aim for at least 1 m (about 3 ft) between high and low points on a typical sail. Waterproof sails need a steeper fall than breathable ones so water cannot pool.
- Headroom: keep the lowest point high enough to walk under comfortably, usually at least 2.1 m (7 ft).
Step 5: Measure Correctly (and Leave a Tension Gap)
This is the most important technical step when you install a shade sail. The sail must be smaller than the distance between your fixing points, so you have room to pull it tight.
- Measure the straight-line distance between each pair of fixing points, at the actual fixing height.
- Leave a gap at each corner for the tensioning hardware. A common rule is to allow around 10% of the side length, split between the corners. For example, for a 5 m side, leave around 25 cm at each end.
- For a square or rectangle, also measure both diagonals so the sail is not ordered for a shape that is out of square.
- Write down every measurement and draw a simple plan before ordering a custom sail.
Ready-made sails come in standard sizes, so choose fixing points to suit the sail. Custom sails are made to your measurements, so accuracy here saves money.
Step 6: Install the Posts
If you are using posts, they must be installed before the sail and allowed to set fully. Post footings are the foundation of a safe shade sail installation.
- Check for underground services. Before digging, check for water, gas, electricity and data lines using site plans or a local utility locating service.
- Dig the footing. As a guide, many installers dig to a depth of about one third of the post height above ground, often 0.9–1.2 m (3–4 ft) for garden sails. Soft soil, high wind areas and large sails need deeper and wider footings designed by an engineer.
- Angle the posts. Lean each post slightly away from the sail, around 5–10 degrees, so it does not bend inwards under tension.
- Pour the concrete and check the angle with a level as it sets.
- Let it cure. Wait the full curing time recommended for your concrete, typically several days, before tensioning the sail.
Step 7: Hang and Tension the Sail
Now for the satisfying part. Always install a shade sail with a helper, on a calm, dry day.
- Attach the hardware (shackles, turnbuckles or pulleys) to each fixing point.
- Open the turnbuckles fully so you have the maximum tensioning range.
- Attach each corner of the sail, starting with the highest points.
- Tighten the corners a little at a time, moving around the sail evenly, rather than fully tightening one corner first.
- Keep tightening until the sail is drum-tight with no wrinkles or flapping edges. A properly tensioned sail should feel firm when you press the fabric.
- Check the slope and twist from a distance, then make small adjustments.
Tip: for large sails, a ratchet or pulley kit makes tensioning much easier and safer than turning a turnbuckle by hand for a long time.
Step 8: Plan for Wind, Rain and Snow
Weather is the biggest risk after you install a shade sail, and climate in Europe ranges from Atlantic storms to Mediterranean heat.
- Wind: a tight, twisted sail handles wind far better than a slack, flat one. In storm warnings, it is safest to take residential sails down.
- Rain: breathable sails let light rain through, but water can still collect if the sail sags. Waterproof sails need a steep fall and somewhere for the water to go.
- Snow: most domestic shade sails are not designed for snow load. In colder regions, take the sail down before winter.
- Heat and UV: quality UV-stabilised fabric lasts much longer in strong southern sun.
For permanent and commercial structures, wind and snow loads are usually designed to recognised standards such as the Eurocodes in Europe. A professional installer or engineer should always design large or public shade structures.
Common Shade Sail Installation Mistakes
- Installing it flat: leads to flapping, sagging and pooled water.
- No tension gap: ordering a sail the same size as the space leaves no room to tighten it.
- Weak fixing points: gutters, fascias and thin posts can fail under load.
- Cheap hardware: zinc-plated fittings rust quickly, especially near the coast.
- Posts set vertical or too shallow: they lean in over time and the sail goes slack.
- Tensioning one corner fully first: pulls the sail out of shape.
- Leaving it up in storms: the most common cause of damage.
Best Places to Install a Shade Sail
Shade sails are popular because they fit spaces where a solid roof would be too heavy, too expensive or would need planning approval. These are the most common places to install a shade sail:
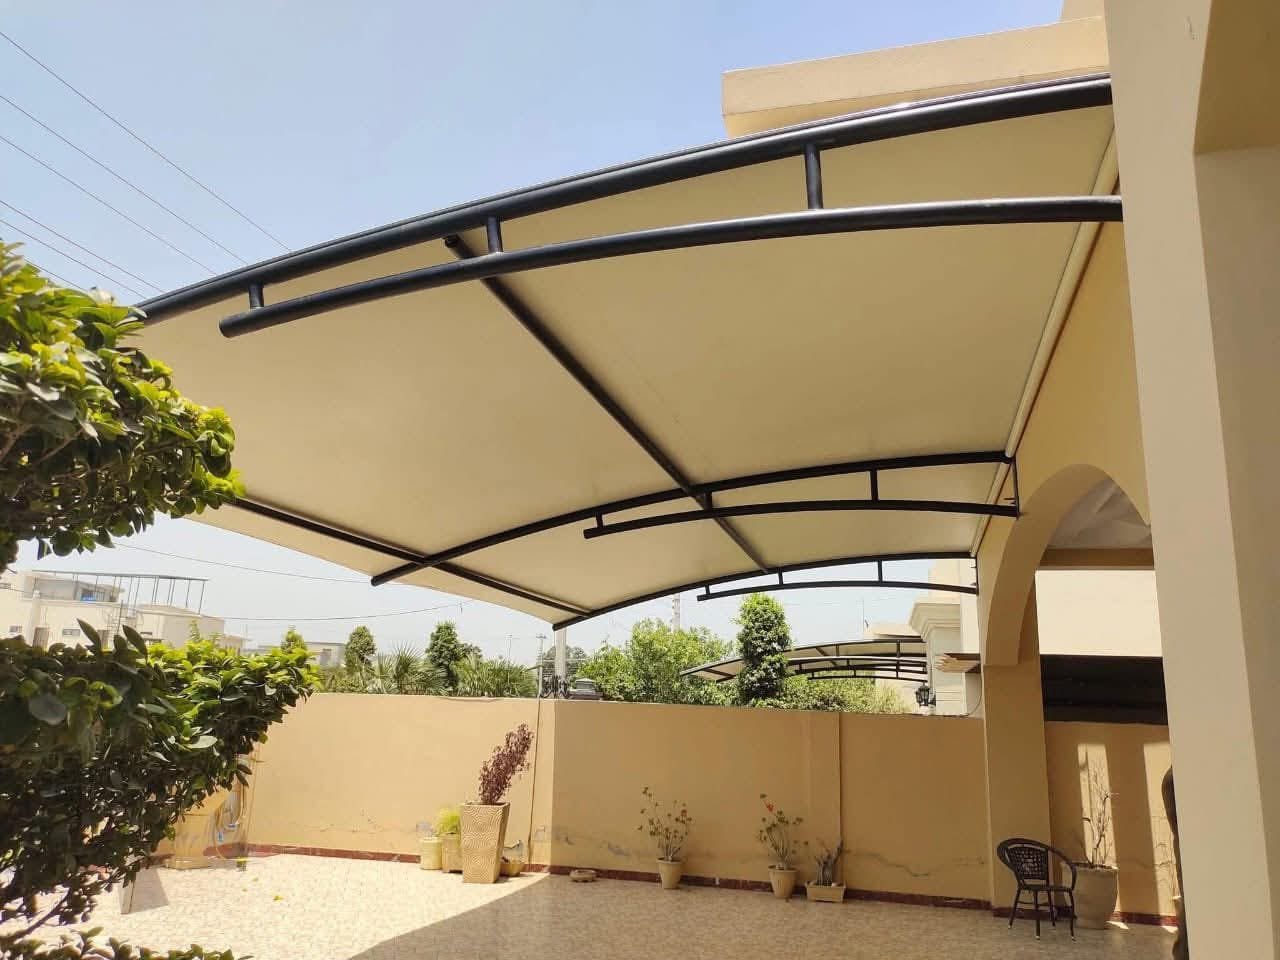
- Patios and terraces: create a cool outdoor dining or lounge area without darkening the house.
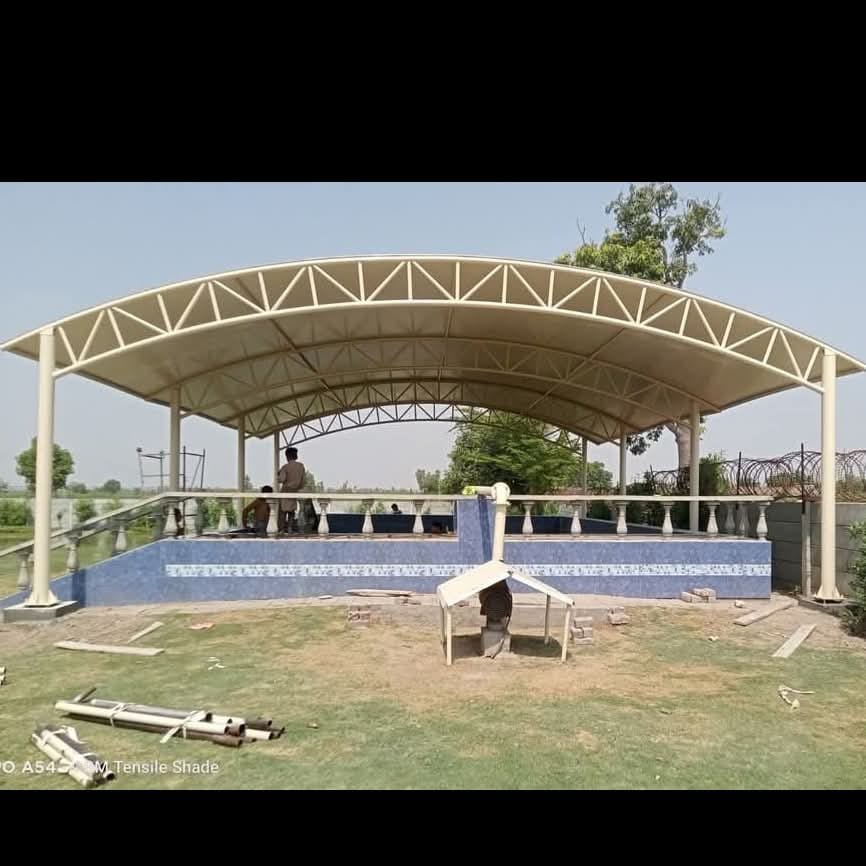
- Swimming pools: protect swimmers from UV and keep the pool deck cooler. See our ideas for swimming pool tensile structures.
- Children’s play areas: schools and nurseries use sails to keep sandpits and playgrounds shaded.
- Café and restaurant terraces: sails extend usable seating space and give a branded, modern look.
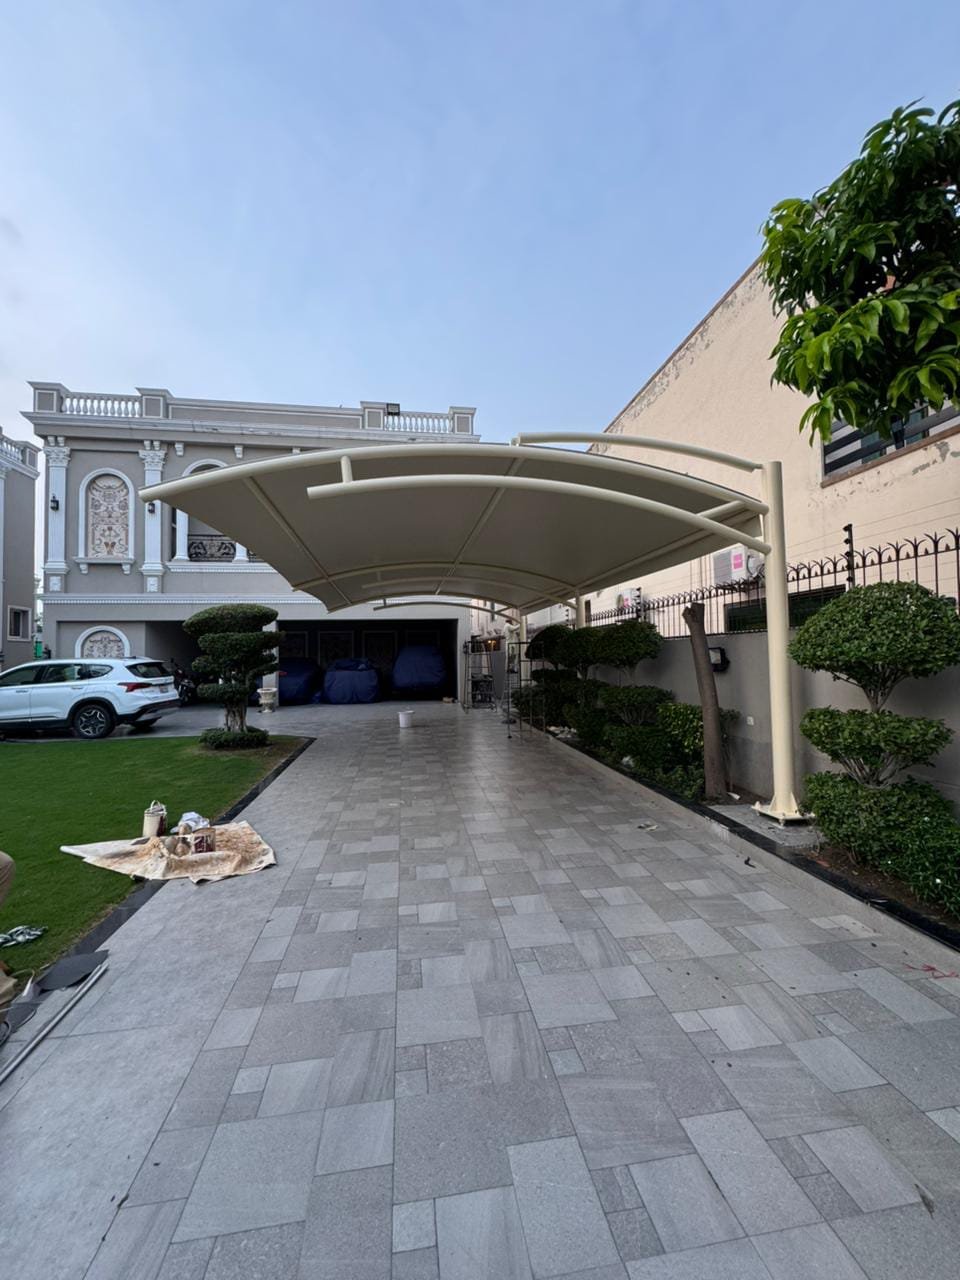
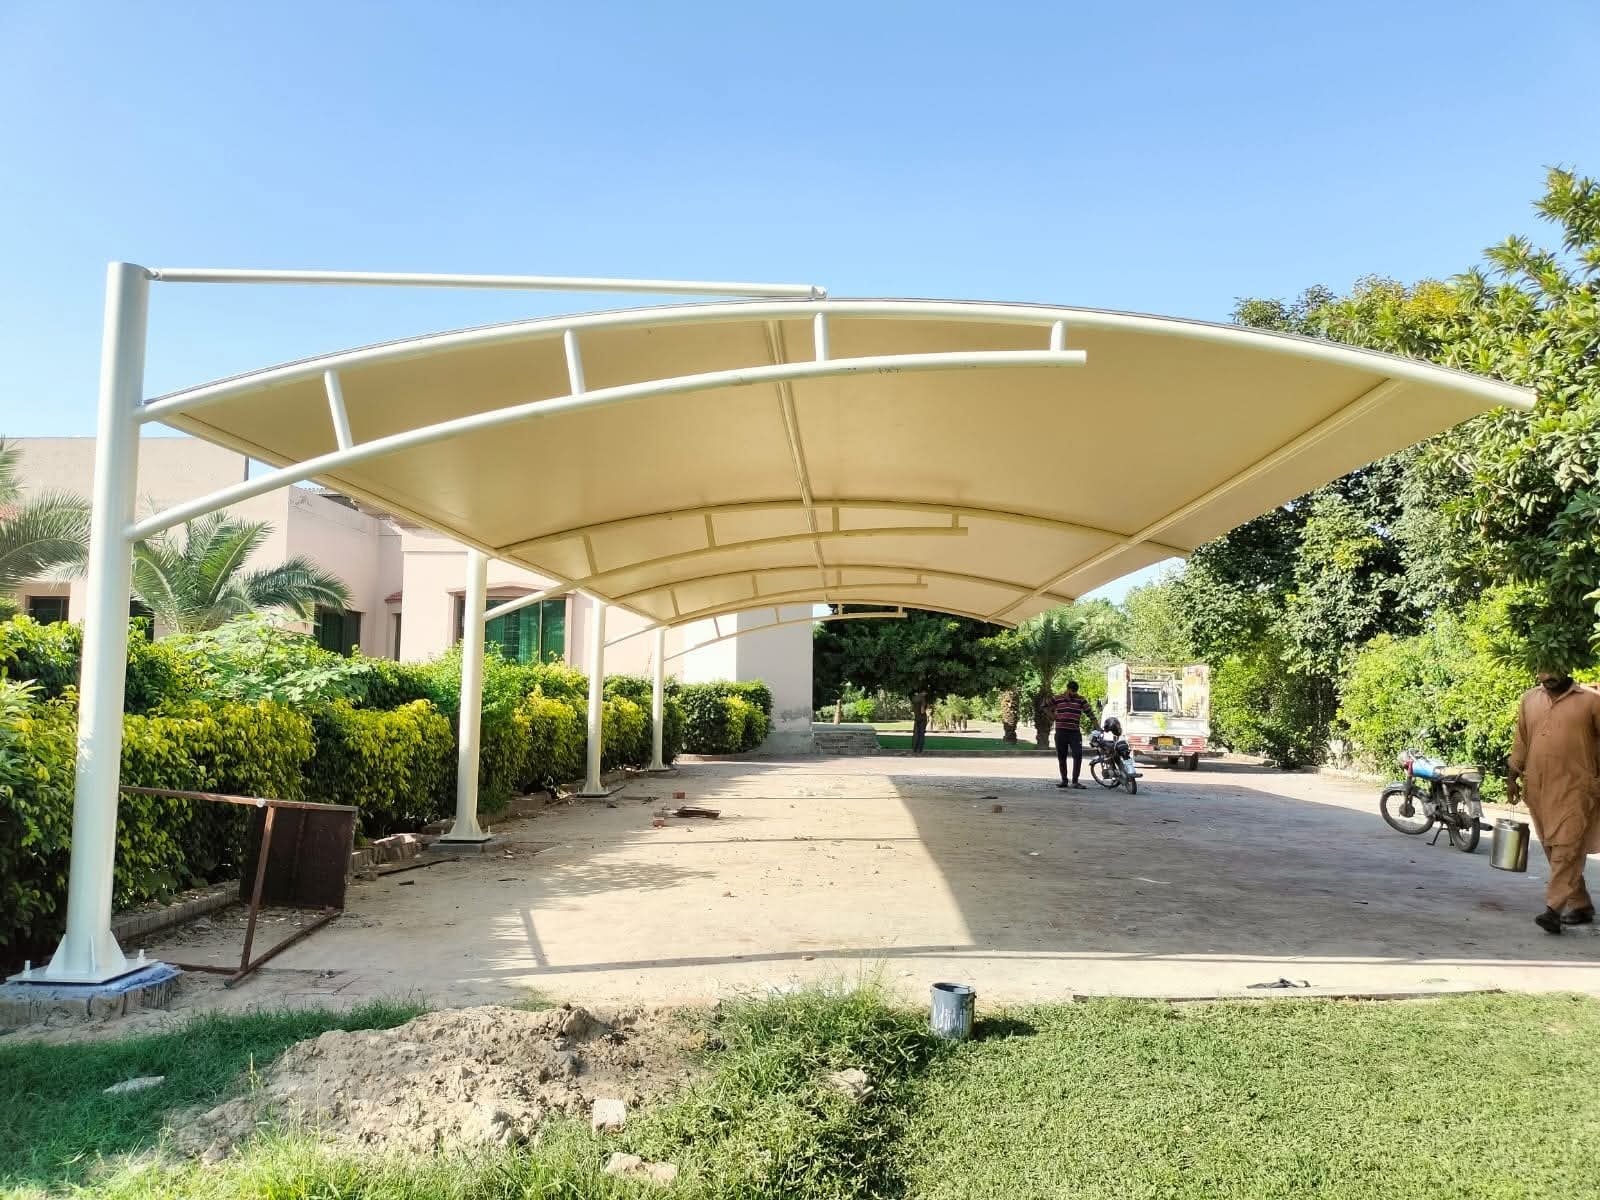
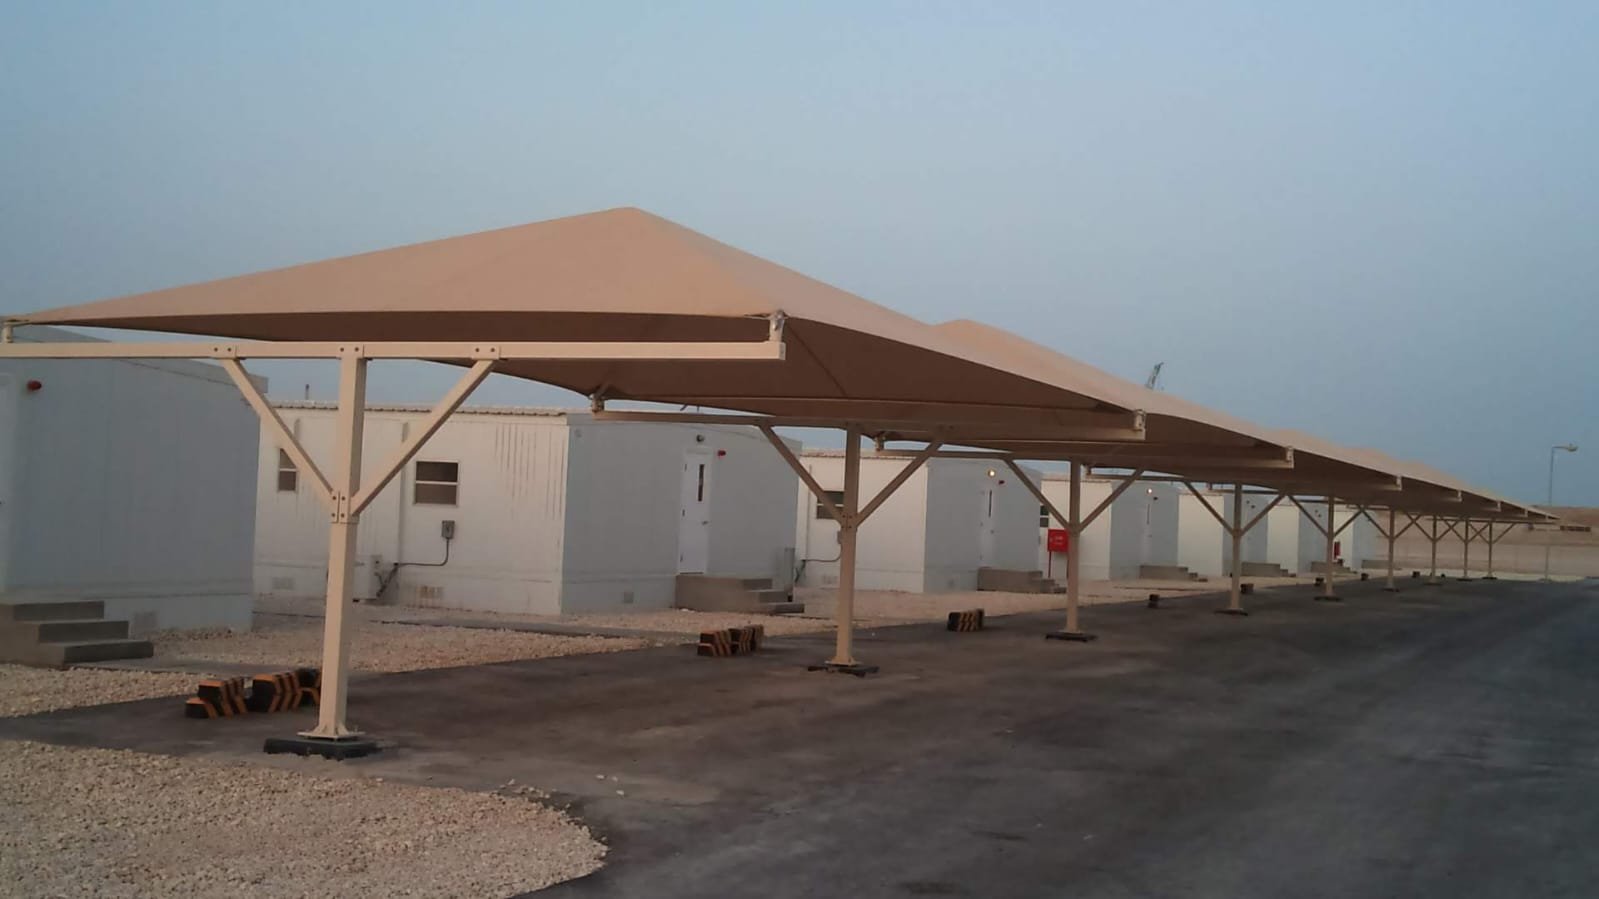
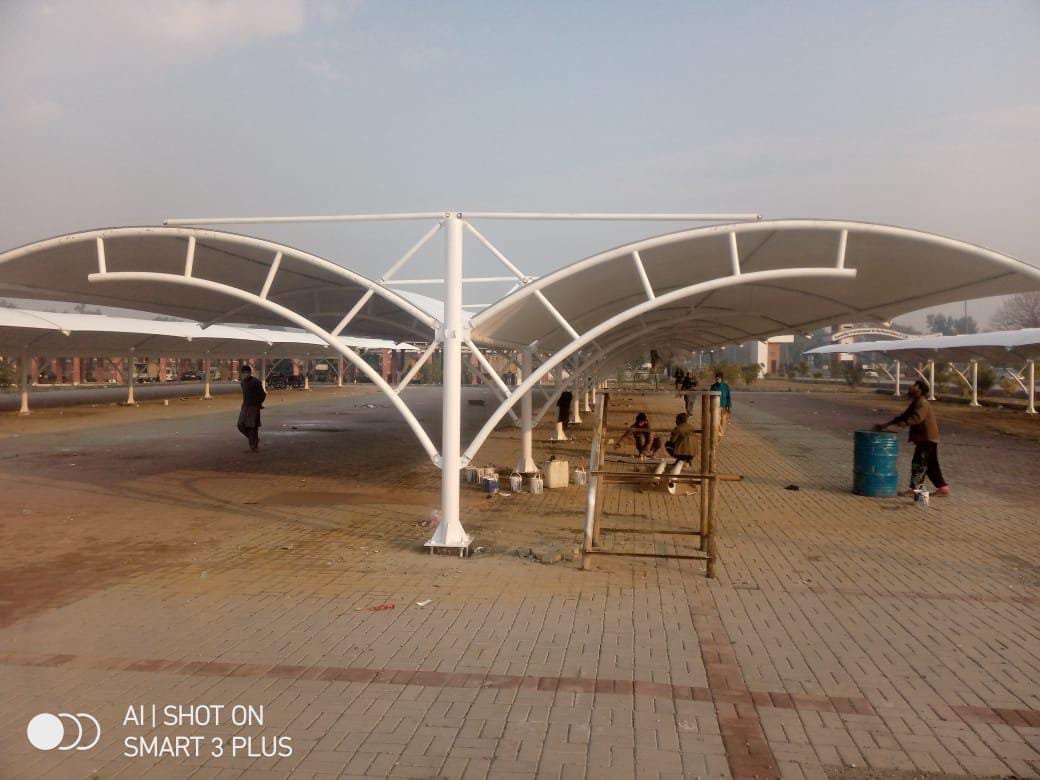
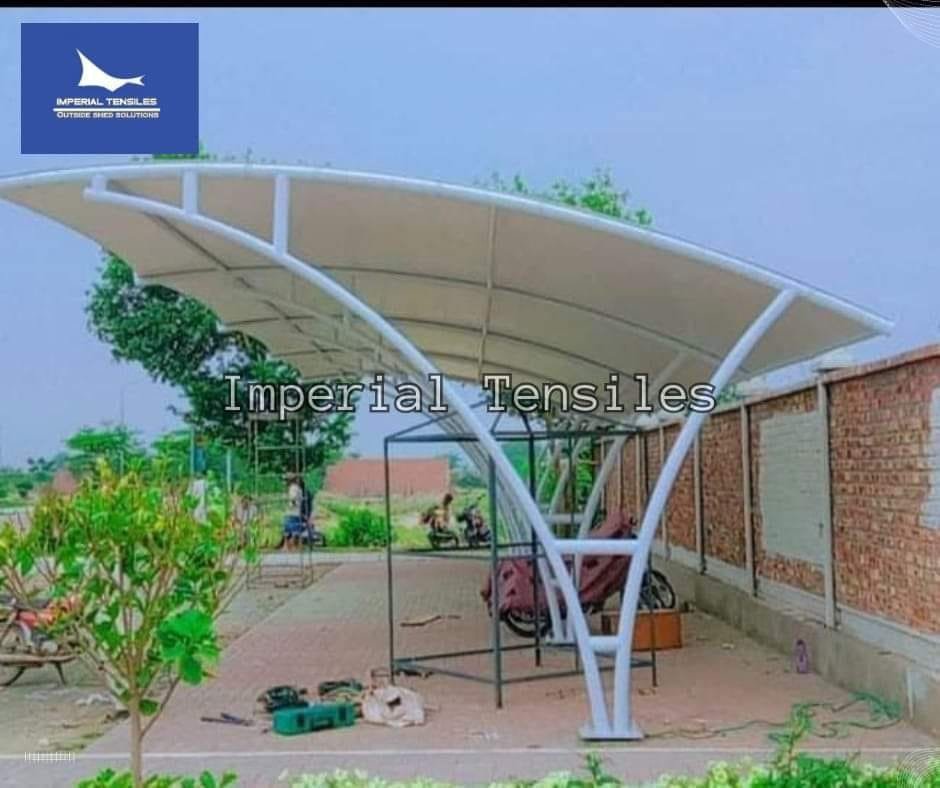
- Car parking: sails protect cars from heat and UV, and are lighter than metal carports.
- Rooftop gardens: lightweight sails suit roofs where heavy structures are not possible, if fixed by a professional.
How Long Does Shade Sail Installation Take?
The time needed depends on the fixing method and size:
| Type of job | Typical time | Notes |
|---|---|---|
| Small sail on existing walls or strong trees | 2–4 hours | No concrete, simple fixings |
| Garden sail with new posts | 1 day work + concrete curing | Tension after concrete has cured |
| Multiple layered sails | 1–2 days + curing | Careful planning of heights |
| Commercial or large-span shade | Several days to weeks | Engineering, permits and specialist crew |
The cost of shade sail installation varies widely between countries, materials and sizes. The sail itself is often a smaller part of the budget than the posts, footings and hardware, so plan for all of them, not just the fabric.
Shade Sail Installation Checklist
Use this quick checklist on the day you install a shade sail:
- Sun path checked and shade area marked
- Underground services checked before digging
- Fixing points strong, rated and not on gutters or fascia
- Posts angled outwards and concrete fully cured
- Height difference of at least 1 m between high and low corners
- Tension gap of about 10% of each side
- 316 stainless steel hardware fitted
- Sail tensioned evenly, drum-tight, with no flapping
- Plan in place to remove the sail before storms or snow
Maintenance and Seasonal Care
A good shade sail installation is only the start. A little care keeps a sail looking good for many seasons.
- Re-tension the sail a few weeks after installation, as fabric settles and stretches slightly.
- Brush off leaves and debris, and rinse the fabric with clean water and mild soap. Avoid bleach and pressure washers.
- Check fittings and posts every few months for rust, wear or movement.
- Take the sail down, dry it fully and store it rolled (not folded tightly) for winter in cold climates.
More detailed care steps are in our tensile shade maintenance tips, and we explain how sails cope with heat and rain in weatherproof tensile shade.
Shade Sail vs Permanent Tensile Structure
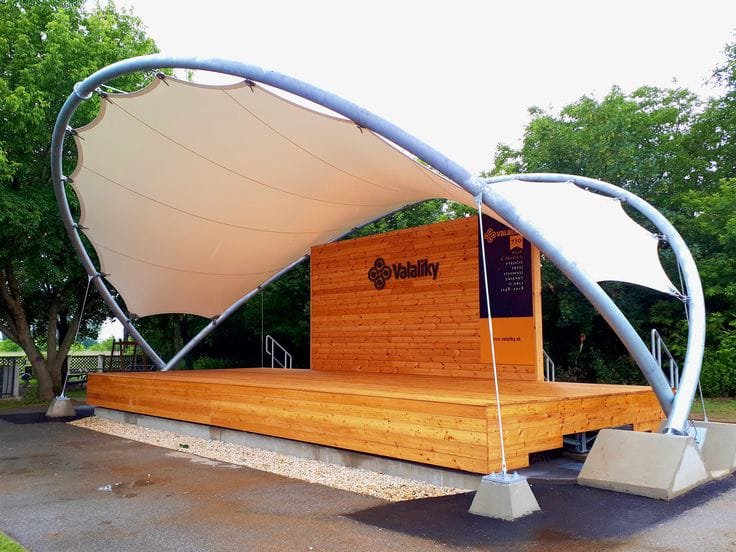
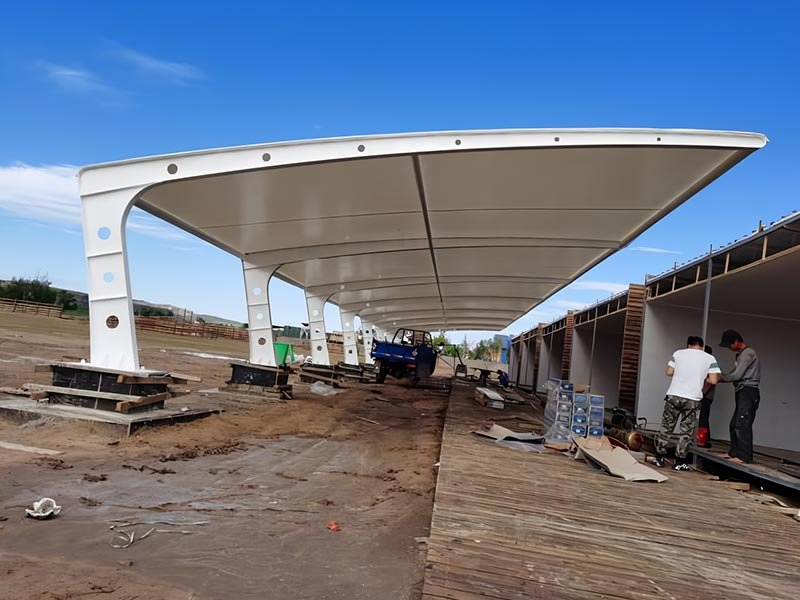
A shade sail is light, flexible and easy to remove. A permanent tensile structure uses an engineered steel frame, cables and fabric designed for long-term wind and rain loads. Understanding the difference helps you decide how to install a shade sail, or whether you need something stronger.
| Feature | Shade sail | Permanent tensile structure |
|---|---|---|
| Main use | Seasonal sun shade | All-year shade and rain cover |
| Removal | Easy to take down | Fixed in place |
| Engineering | Simple for small sails | Designed for site loads |
| Typical sites | Gardens, patios, small play areas | Car parks, schools, malls, stadiums |
If you need shade that stays up through storms and heavy rain, a permanent structure is usually the better investment than repeated shade sail installation and removal.
DIY or Professional Installation?
Many homeowners can install a shade sail themselves if it is small and residential, by following the steps above. A professional is the better choice when:
- the sail is larger than about 25 m² (270 sq ft), or uses tall posts;
- you need to fix to a building but are unsure of its structure;
- the site is very windy, sloping or close to the coast;
- the shade is for a business, school, hotel or other public space;
- you want a waterproof, permanent structure rather than a seasonal sail.
Professional installers design the footings and hardware for the real loads, which protects both the sail and the people under it. Learn more about professionally engineered tensile fabric structures and outdoor shade solutions.
Frequently Asked Questions
How tight should a shade sail be?
It should be tight enough that the fabric does not flap or wrinkle in the wind and feels firm when pressed. A loose sail wears out faster and can damage its fixings.
How much space should I leave between the sail and the fixing points?
Allow roughly 10% of each side length for tensioning hardware, split between the two corners. Without this gap you cannot tension the sail properly.
Can I attach a shade sail to my house?
Yes, if you fix into solid masonry, concrete or a structural beam using rated hardware. Never attach a sail to gutters, fascia boards or downpipes.
How deep should shade sail posts be?
For small garden sails, footings are often about one third of the above-ground post height, commonly 0.9–1.2 m. Large sails, soft ground and windy sites need an engineered design.
Should I take my shade sail down in winter?
In places with snow, frequent storms or long wet winters, yes. Take it down, dry it and store it rolled to extend its life.
Are shade sails waterproof?
Breathable HDPE sails are not fully waterproof. Waterproof PVC-coated sails keep rain off but need a steep slope so water runs off instead of pooling.
Need a Professionally Engineered Shade?
Now you know how to install a shade sail safely, from planning the sun angle to final tensioning. For larger spaces, commercial projects or permanent waterproof structures, Imperial Tensiles designs, fabricates and installs tensile shades with engineered posts, fittings and fabric. Contact our team to discuss your project.